

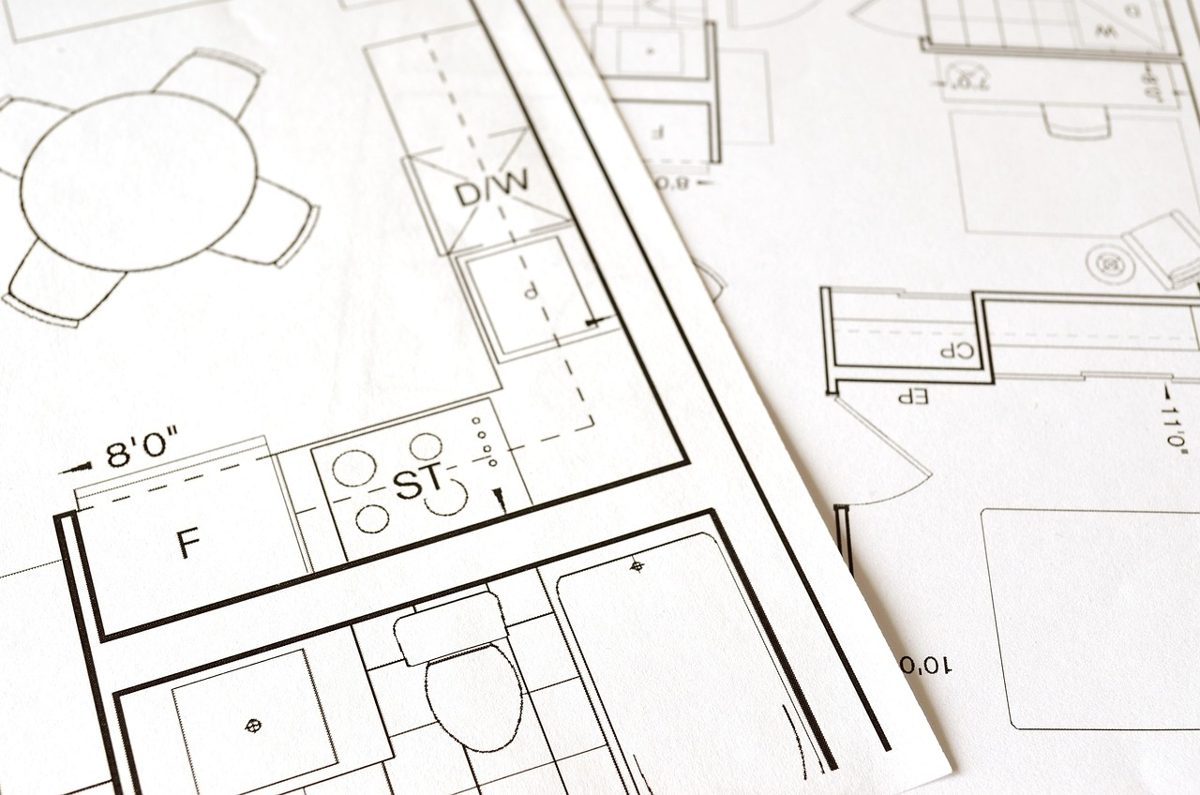
Commercial washroom installation is a sequence of linked stages: survey, design, approvals, strip-out, first fix, second fix and installation, snagging and handover. Done in the right order, it finishes on time and the washroom works from day one. Done out of order, the same job turns into a series of delays, because each trade depends on the one before it.
Table of Contents
This guide walks through each stage of commercial washroom installation in plain terms, so facilities managers, contractors and building owners know what is happening on site and what to ask for. If you are weighing a smaller upgrade rather than a full installation, our guide to commercial washroom refurbishment covers that decision.
What does commercial washroom installation include?
Commercial washroom installation covers everything needed to take a washroom from an empty or outdated room to a working, compliant, finished one. The scope usually includes:
- Strip-out of old fittings, partitions and finishes
- Plumbing, drainage and electrical work
- Wall and floor finishes
- Toilet cubicles, partitions and doors
- IPS panelling and duct systems to hide pipework and cisterns
- Vanity units and basins
- Accessories such as locks, hooks, mirrors and signage
- Testing, snagging and handover documents
Some jobs include only part of this list. A like-for-like cubicle replacement, for example, skips most of the plumbing. The stages below still apply, just on a smaller scale.
Stage 1: What happens at brief and site survey?
In commercial washroom installation, the brief and survey stage fixes what the washroom must do and what the room can physically support. It is the cheapest stage to get right and the most expensive to get wrong.
At the brief, the client sets out:
- How many people use the washroom, and when
- Whether it serves staff only, visitors, the public or a mix
- Accessibility needs and any existing compliance concerns
- Budget range and target dates
- Any out-of-hours working constraints, such as a building that cannot close
At survey, the installer measures the room and checks what is behind the walls and under the floor: pipe routes, drain positions, ceiling heights, structural walls, ventilation and electrical supply. Surprises found here cost a conversation. Surprises found halfway through strip-out cost a programme.
A good survey also records how materials and operatives will get to the washroom. A third-floor washroom with no lift needs a different delivery plan from a ground-floor one.
Stage 2: How is the design and specification agreed?
Design turns the brief into drawings and a specification. This is where layout, materials and fittings are fixed, and where the quality of the finished washroom is largely decided.
Key decisions at this stage include:
- Layout and circulation. Door positions, queuing space, privacy lines and room for cleaning.
- Provision. How many toilets and basins are needed for the number of users. For workplaces, our guide to how many toilets you need explains the usual guidance.
- Accessibility. Accessible and ambulant provision under the relevant building regulations. See our guide to public toilet design for the standards that most often apply.
- Cubicle system. Full-height or standard-height, material, lock type and door hardware. Our guide to choosing the right cubicle system compares the options.
- Durability. Surfaces and fittings that suit the level of use and the risk of damage. A busy public washroom has different needs from a small office one.
Ask for the design as drawings and a written specification. A specification that names products, sizes and finishes leaves less room for substitution later and gives you something to check the installation against at handover.
Stage 3: What approvals and programme planning are needed?
Before commercial washroom installation starts, the installer confirms what permissions are needed and builds a programme around them. Not every washroom job needs formal approval, but many do.
Building Regulations. Alterations that affect drainage, ventilation, structure, fire safety or accessibility may need Building Control involvement. Check early, because it can affect the start date.
Health and safety. Construction projects fall under the Construction (Design and Management) Regulations 2015. Even small jobs need planning for safe working, and larger ones carry extra duties. The installer should be able to explain how these apply to your job. Accreditations such as SafeContractor are a sign that a contractor’s safety procedures have been independently assessed.
Landlord and building management. In multi-tenant buildings, you may need consent for water shut-offs, out-of-hours working or access routes.
Procurement and lead times. Cubicles, panelling and vanities are often made to order, so their delivery time can set the start of installation. Confirm lead times at order, not after.
The output of this stage is a programme: a dated sequence showing which trade is on site when, and what must be finished before the next starts.
Stage 4: What happens during strip-out and first fix?
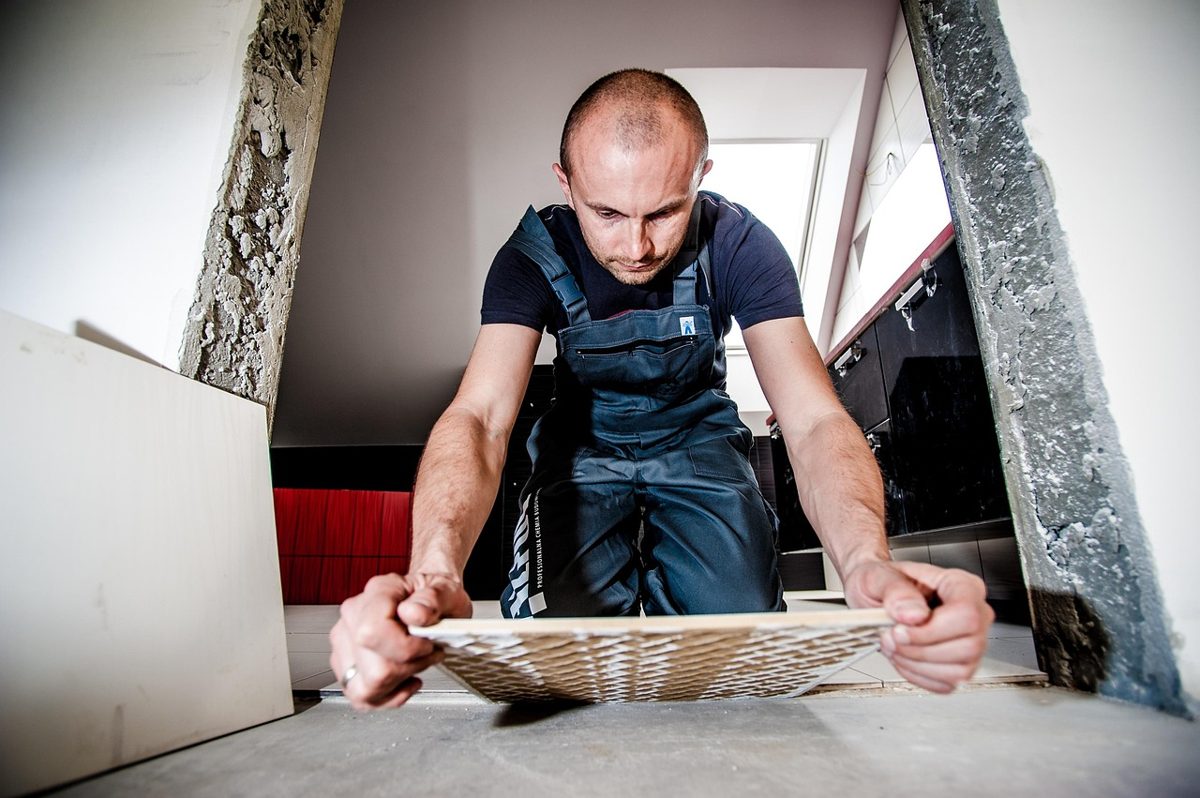
Strip-out removes the old washroom, and first fix installs everything that will be hidden behind the finished surfaces.
Strip-out typically covers old cubicles, fittings, wall finishes and sometimes floors. Isolating and capping water, waste and electrical services comes first. Waste is separated and removed in line with site rules.
First fix covers the services that will end up behind walls, above ceilings or inside ducts:
- Pipework and waste connections
- Concealed cistern frames
- Electrical cabling for lighting, extractors, hand dryers and sensors
- Structural supports or noggins for fixing heavy items such as vanities and grab rails
- Ductwork for ventilation
This is the stage to check twice. Once boards and panelling go on, fixing something behind them means taking it apart. Pressure-test pipework and check electrical continuity before closing up.
A well-planned IPS panelling and duct system keeps pipework accessible for maintenance while presenting a clean, hygienic face to the washroom.
Stage 5: How are cubicles, panelling and vanities installed?
Second fix is the visible stage of commercial washroom installation, where the washroom starts to look finished. The usual order is:
- Wall and floor finishes. Tiling, wall panels and flooring go in first, so cubicle fixings sit on a finished surface.
- Panelling and ducts. IPS or duct panelling is fitted to conceal services.
- Cubicles and partitions. Pilasters, panels and doors are set out and levelled. Gaps and door swing are checked against the specification.
- Vanity units and basins. Fixed to the supports installed at first fix, then connected to taps and waste.
- Sanitaryware and accessories. Toilets, urinals, dispensers, hand dryers, mirrors, hooks, signage and locks.
Accuracy matters more than speed here. A cubicle that is 5 mm out of level at one end shows in every door gap. Manufacturers publish fixing and clearance requirements, and the installer should follow them.
If you are still choosing between hardware options, our guides to toilet cubicle locks and toilet cubicle hinges explain what holds up best under heavy use.
Stage 6: What does commissioning and snagging involve?
Commissioning proves every part of the commercial washroom installation works. Snagging finds and fixes the small defects that remain. Together they turn “finished” into “ready to use”.
Commissioning checks typically include:
- Every tap, flush and waste line tested for flow, leaks and slow drainage
- Hot and cold supplies checked, including temperature control where relevant
- Extract fans and ventilation running and airflow confirmed
- Lighting, sensors and emergency or alarm systems tested
- Accessible toilet features checked, such as door operation and any alarm cord
Snagging is a walk-through with a checklist. Typical snags include marks on finishes, door gaps that are uneven, loose fittings, missing accessories, sealant that needs finishing and doors that do not latch properly. Record each one with a photo and location, agree who fixes it, and sign it off when done.
Do the snagging walk-through in good light, with the client present, before the installer leaves site. Fixing items after demobilisation takes longer and costs more.
Stage 7: What should be in the handover?
Handover is the final stage of commercial washroom installation: the formal transfer of the washroom to the client, and it should come with documents, not just keys. Ask for:
- As-built drawings showing where services actually run
- Product data and specification sheets for cubicles, panelling, vanities and fittings
- Warranties and guarantees with start dates and contact details
- Operation and maintenance guidance, including cleaning methods that suit the materials
- Spare parts and keys, including any emergency release tools for cubicle locks
- Test certificates for relevant electrical and plumbing work
- Aftercare contact for defects found after opening
Good maintenance guidance protects your investment. The wrong cleaning product can damage a laminate finish, and a missing spare hinge can take a cubicle out of use for weeks.
How long does commercial washroom installation take?
Commercial washroom installation time depends on size, scope, access and lead times, so any fixed number is a rough guide at best. As a general rule, a single washroom with a straightforward like-for-like installation takes far less time than a multi-floor project involving new drainage and accessible provision. A programme from your installer, based on a survey, is the only reliable answer.
The factors that most affect duration are:
- Scope. New pipework and drainage add days; cubicle-only replacement is quick.
- Lead times. Made-to-order items can set the start date.
- Access. Restricted working hours, lifts and parking all slow progress.
- Building condition. Hidden defects found at strip-out can add work.
- Number of washrooms. Phasing multiple blocks so some stay open takes longer than closing the lot.
Who should do the work: a single contractor or several trades?
You can appoint trades separately or use one contractor to manage the whole job. Both work, but they carry different risks.
With separate trades, you control each appointment but also carry the coordination. If the plumber finishes late, the joiner waits, and the delay is yours to resolve.
With a single contractor (often called a turnkey service), one party owns the programme from survey to handover. There is one point of contact, one programme and one place to look when something goes wrong. Our guide to managing an office refurbishment with a turnkey approach explains the trade-offs.
BRAC Projects offers installation and project delivery alongside manufacture, so the team that designs the cubicles is also the team that fits them.
How do you choose a commercial washroom installer?
Choose a commercial washroom installer on evidence of similar work, safe working and clear communication, not on the lowest price alone. Questions worth asking:
- Have you completed similar projects? Ask to see case studies in your sector, for example commercial, education or public buildings.
- Who manufactures the products? An installer who also manufactures can adjust specifications and fix issues faster.
- What accreditations do you hold? Look for recognised health and safety assessments.
- What does the quote include? Check for strip-out, waste removal, making good, accessories and handover documents.
- What happens after handover? Ask about warranty terms and who to call for defects.
- How will you keep the building running? Ask about phasing, noise and access.
For help comparing quotes, our guide to 3 stages to a stress-free washroom refurbishment is a useful companion.
What are the most common causes of commercial washroom installation delays?
The same few problems cause most overruns:
- Late specification changes after items are ordered
- Unknown services found at strip-out that were not on the survey
- Lead times that were not checked at order
- Access limits that were not planned for
- Trades overlapping, because the programme did not allow for drying, curing or inspection
- Snagging left to the end with no time left to fix items before opening
Most of these are avoidable with a thorough survey, a fixed specification and a realistic programme.
Frequently asked questions
What is included in commercial washroom installation?
It usually includes strip-out, plumbing and electrical work, wall and floor finishes, cubicles, panelling, vanity units, accessories, testing, snagging and handover documents. The exact scope depends on the project.
Do I need Building Regulations approval for a commercial washroom installation?
Sometimes. Work affecting drainage, ventilation, structure, fire safety or accessibility may need Building Control involvement. A like-for-like replacement often needs less. Check with Building Control or your installer before starting.
How do I keep the building open during installation?
Plan the work in phases so some washrooms stay open, and agree temporary facilities where needed. Out-of-hours working is another option. Both should be agreed in the programme.
What documents should I receive at handover?
As-built drawings, product data, warranties, maintenance guidance, spare keys and parts, test certificates and an aftercare contact.
Can the same company design, manufacture and install the washroom?
Yes. Using one company for all three reduces hand-offs and makes it easier to fix problems, because the same team is responsible for the whole job.
What is the difference between commercial washroom installation and refurbishment?
Commercial washroom installation usually means fitting new washroom facilities in full. Refurbishment means upgrading an existing washroom, often keeping some elements. The process is similar, but refurbishment starts with an assessment of what can stay.
Plan your commercial washroom installation with BRAC Projects
BRAC Projects designs, manufactures and installs commercial washroom systems across the UK. If you have a washroom to install or upgrade, contact us with your layout and timescale, and we will advise on specification and programme.